Before you start
Creating an AR experience comes down to three things: upload a trigger image, add your digital layers, and publish your project. You will need a free Artivive Creator Account and the Artivive Editor (Bridge). The step-by-step guide below walks you through the whole flow.
1.Create an artwork
Log in to the Artivive Editor (Bridge) and click Create Artwork to start a new project.
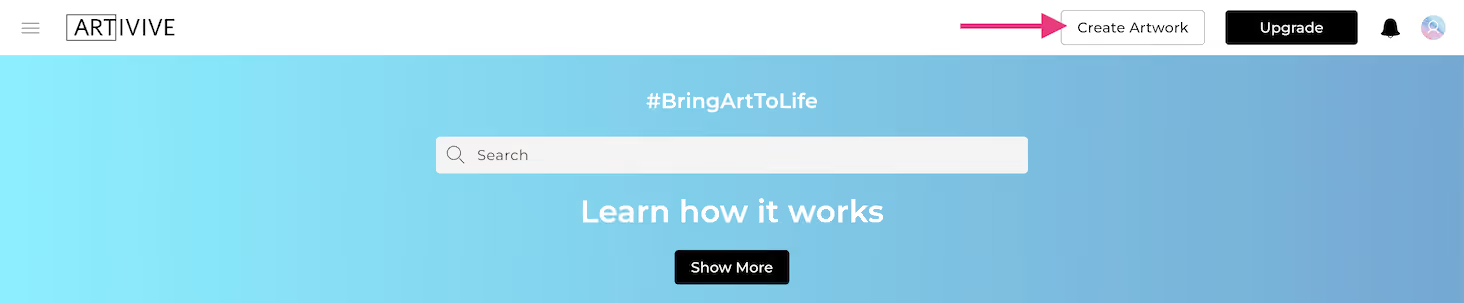
2.Add your trigger image
Upload the image that will be scanned with the Artivive app or WebAR to trigger your animation. This can be a photo, a drawing, or any picture you like. For the smoothest scanning, pick a sharp, high-contrast image. Learn more in Optimize Image Recognition.
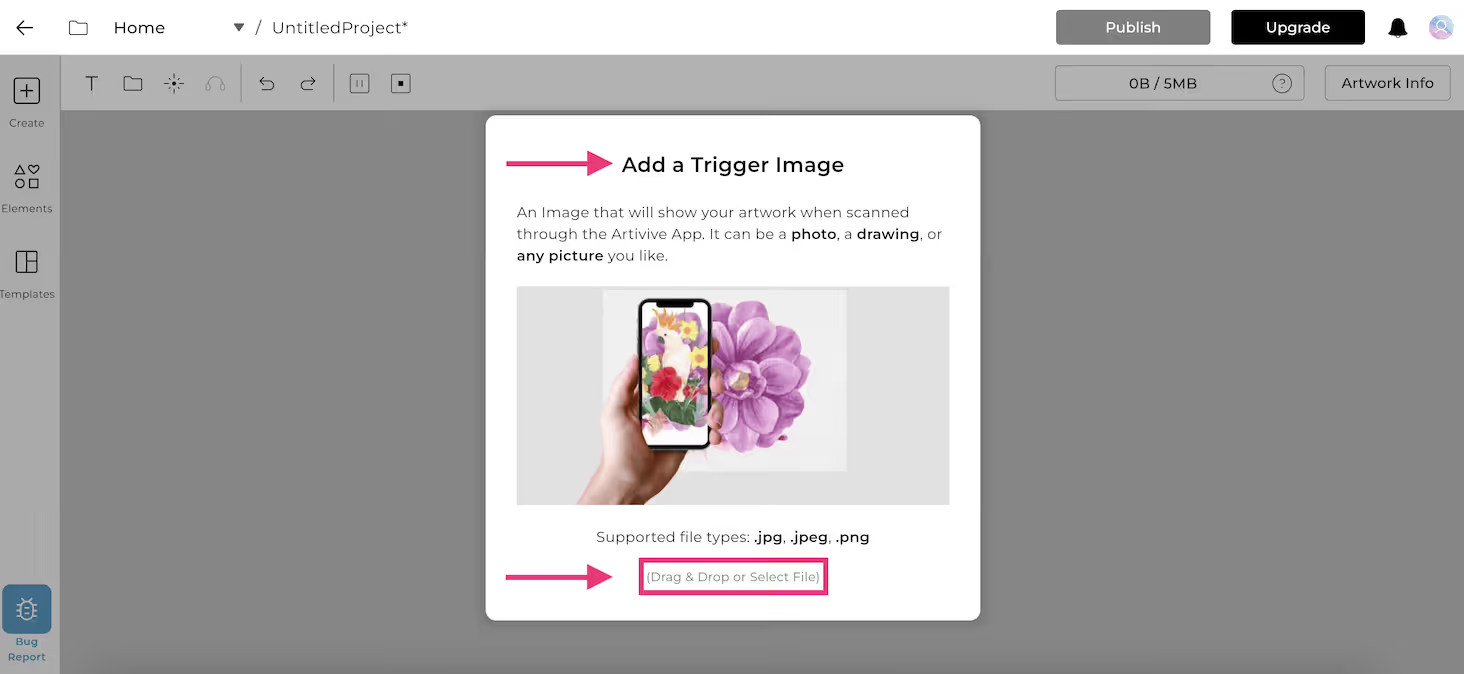
3.Add your digital layers
This is where your imagination takes over, no coding required. You have three ways to add content:
- Upload your own files - images, video, audio, or 3D object files.
- Use a pre-made AR layer template - a quick starting point you can customise.
- Browse the elements library - ready-to-use assets built into the editor.
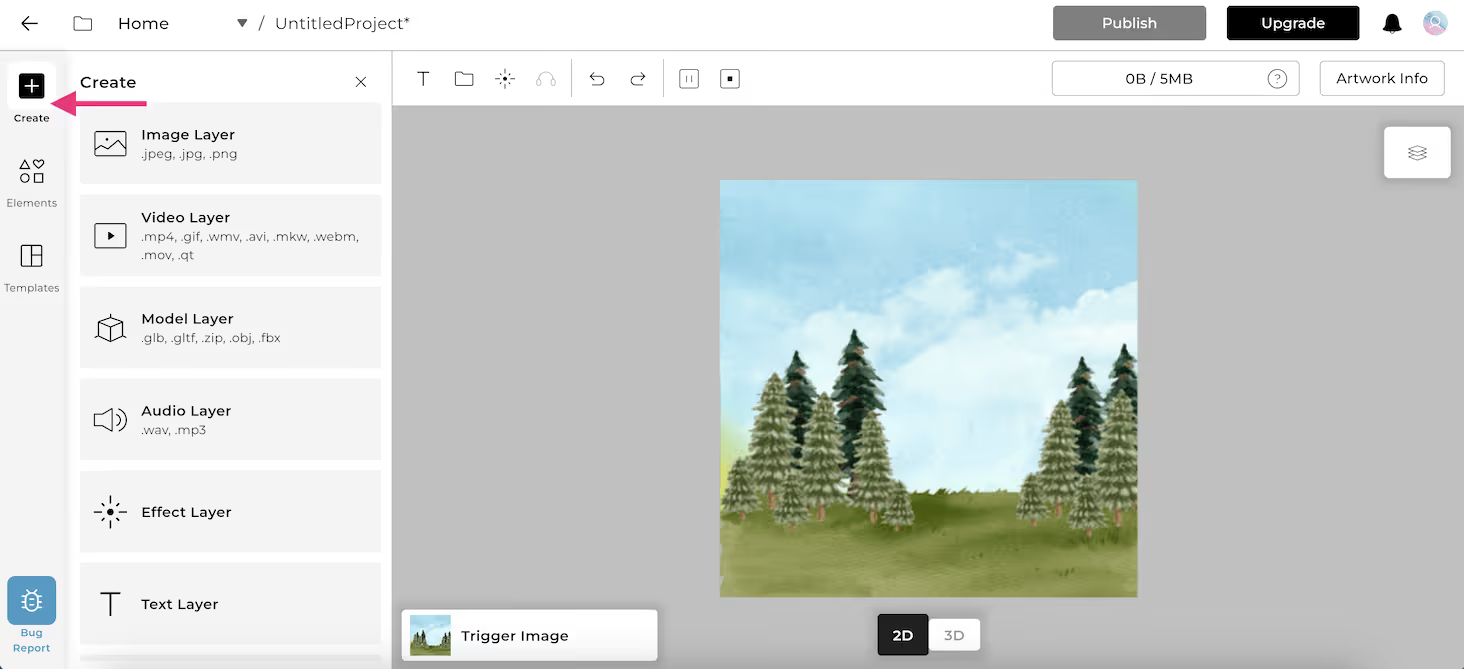
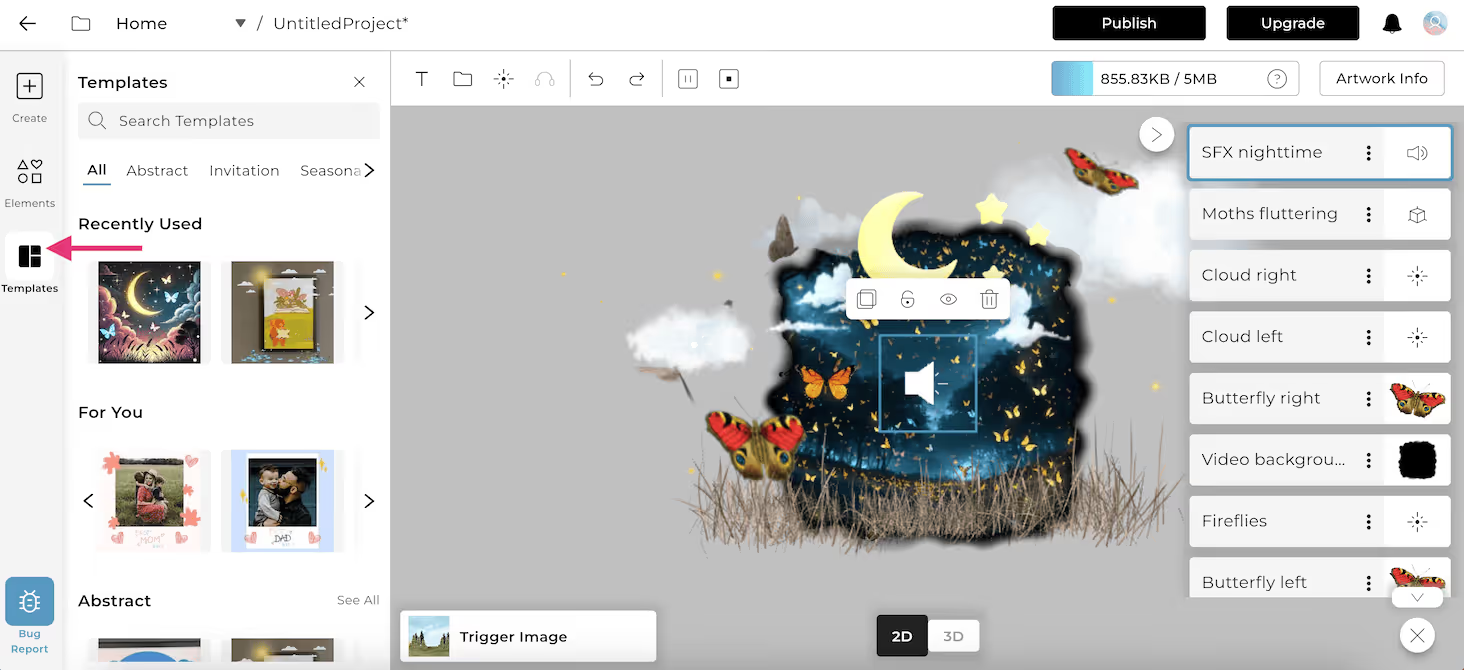
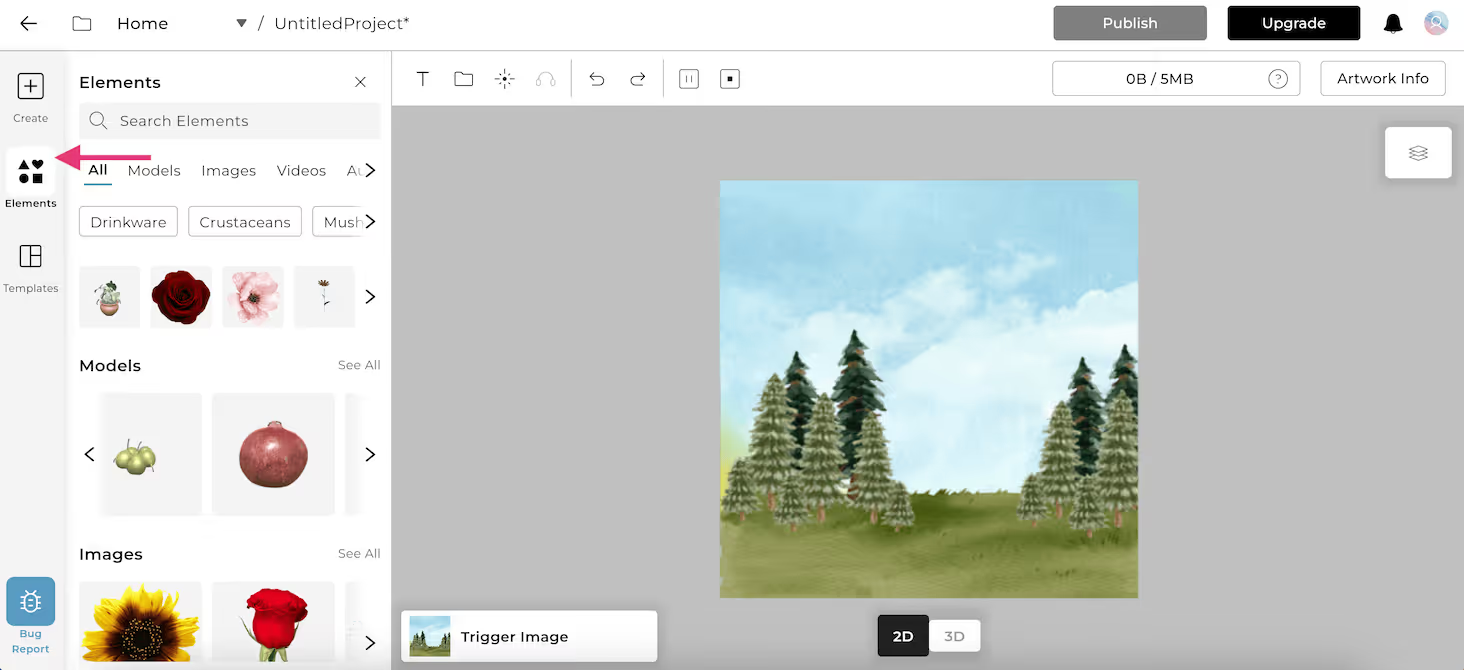
Click any image to enlarge
4.Arrange in 2D and 3D
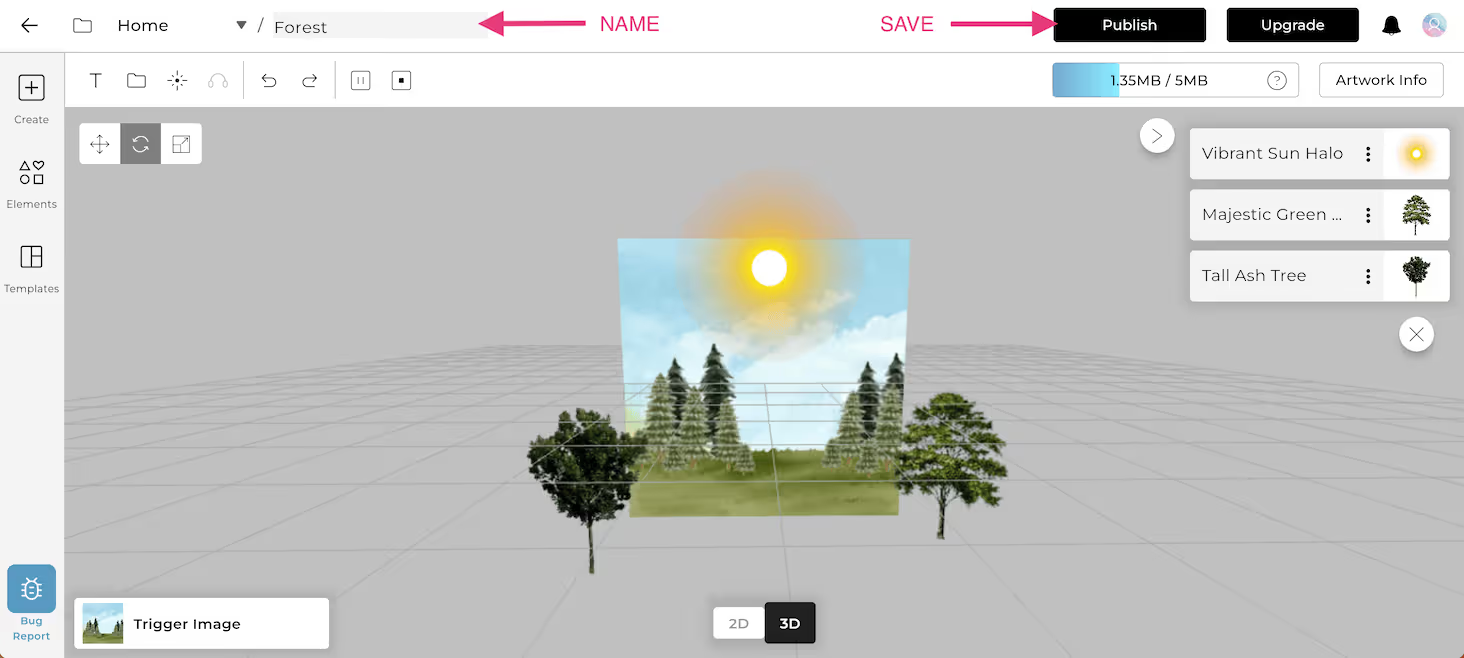
Toggle between the 2D and 3D views for full control over your experience. Move, rotate, and scale each layer until everything sits exactly where you want it.
.gif)
5.Name and publish
Give your artwork a name and publish it. Artivive then processes your project so it is ready to be scanned.
6.Preview before you share
Use Preview Mode in the editor to test your AR experience before publishing, so it looks and behaves exactly as intended for your audience. It is especially useful with the Timeline and Sequences features, where you can also test the interactions you set up.
.gif)
7.Watch it come to life
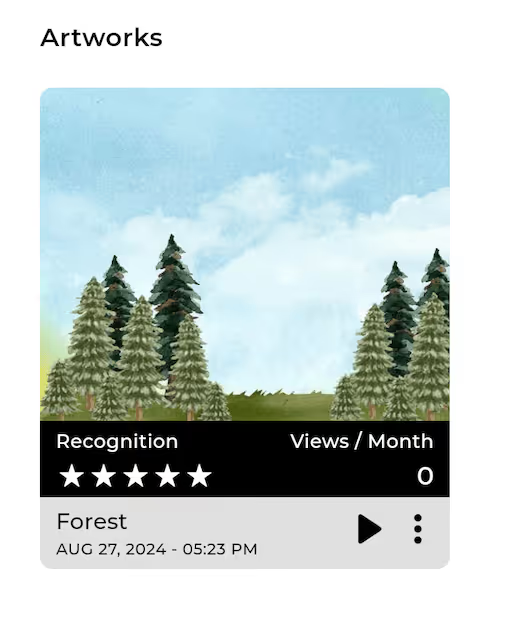
Once your artwork has finished processing, take out your device, open the Artivive app or scan the QR code to open the WebAR experience, and watch your artwork come alive.
- Images: .jpg and .png
- Video: .mp4, .gif, .mov - up to 100 MB (keep it under 45 seconds)
- 3D objects: glTF and GLB (also .obj, .fbx, or a .zip)
- Max file size for images & 3D: 3 MB on Pro, 5 MB on Pro Plus and Business, 10 MB on Enterprise
- Trigger image: longer side between 380 and 8000 pixels
See File Types for full details.
Keep going
Prefer to watch? Follow along with the Artivive in 3 minutes tutorial. Ready for animation and no-download AR? Upgrade to Pro Plus to unlock Timeline, Sequences and WebAR.
Want to learn more? Explore Artivive's features or browse the full Knowledge Base.